Open the same STL in five different tools and you’ll often get five different colors. Most web viewers quietly push your model through an aggressive tone map that oversaturates and shifts hues, so a calm petrol-blue part comes out neon and a subtle gray comes out muddy. That’s a problem when you’re trying to judge a real color, match a filament, or show a client what they’re actually getting.
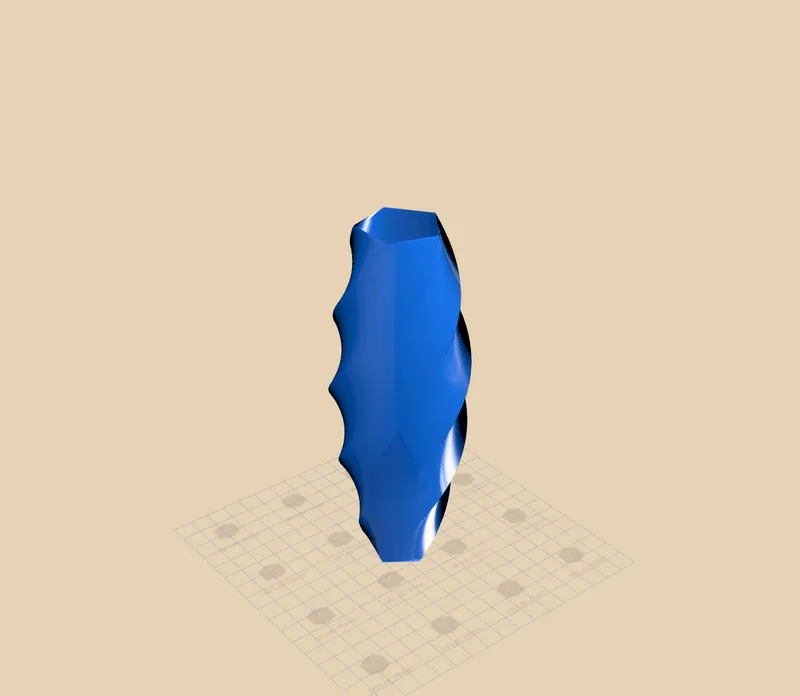
3D Lab Viewer now renders your model in true-to-life color by default – and turns the viewport into a small studio. Pick a lighting setup, preview the part as if it were printed in resin, drop in a ground shadow, and set any background you like. It all runs locally in your browser, free, with no upload, at viewer.3dlab.id.
Why Color Accuracy Matters
Every 3D viewer has to take the bright, high-range light bouncing around a scene and squeeze it into what a screen can actually show. That step is called tone mapping, and the default choice makes a big difference.
The common default – ACES – was built for cinematic film and deliberately pushes contrast and saturation. It looks punchy on a movie frame, but it lies about a single solid-colored part: saturated colors bloom, bright highlights clip to white, and the color you see is not the color you’d print.
We switched the viewer’s default to Khronos PBR Neutral tone mapping. It’s designed for exactly this job – showing a product’s real material color faithfully – so what you see on screen is what the part looks like in hand. It’s the free correctness win, and it’s on by default for every model you open.
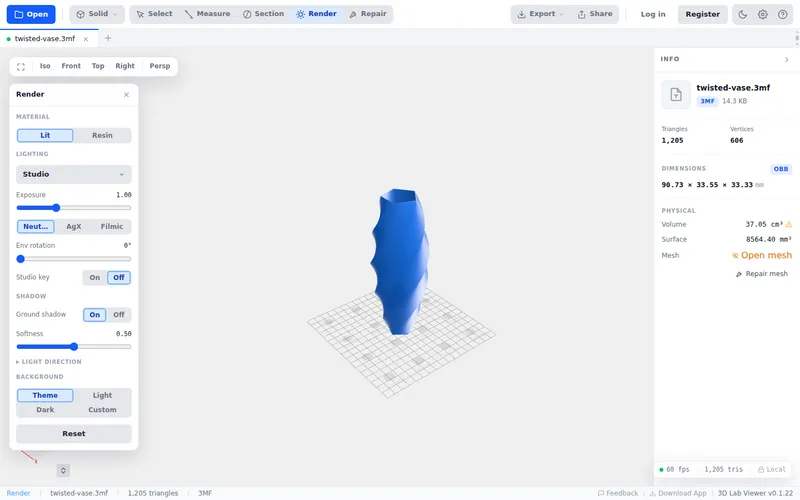
Open the Render Panel
Load any model and click Render in the toolbar. The panel groups everything that controls how your model looks (as opposed to its geometry):
- Material – the surface look
- Lighting – presets, exposure, tone mapping
- Shadow – a grounding contact shadow
- Background – the scene behind the model
Your choices are remembered between sessions, and Reset puts everything back to the defaults in one click. Nothing here changes your actual file – it’s all display only.
Studio Lighting Presets
Instead of fiddling with raw light rigs, you pick a preset:
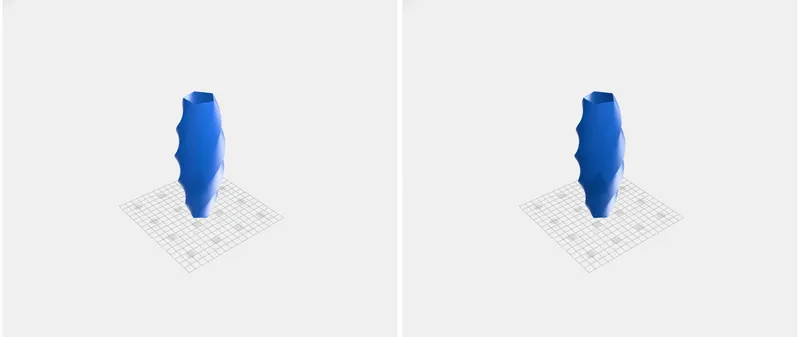
- Studio – balanced, even key light. The neutral default.
- Soft – gentle, diffuse light with lifted environment; flattering for organic shapes.
- Hard – a stronger, more directional key for crisp highlights and deeper shadows that show off surface detail.
- Outdoor – high, bright daylight feel.
Two more controls fine-tune the light:
- Exposure brightens or darkens the whole scene without blowing out color – useful for very light or very dark parts.
- Env rotation spins the environment lighting around the model, so you can move a highlight onto the edge you want to show.
- A Studio key toggle adds an extra directional key light for more punch, and an Advanced → Light direction disclosure exposes raw azimuth, elevation and intensity if you want manual control.
You also get three tone-mapping options if you ever want them: Neutral (the accurate default), AgX and Filmic (two filmic looks that trade a little color accuracy for softer highlight roll-off).
Material: Lit and Resin
Switch the surface look with one click:
- Lit – a clean, physically-based matte surface. The honest default for judging shape and color.
- Resin – a glossy, slightly translucent look that previews how the part would read printed on an SLA / resin printer, with the sheen and light catch resin gives.
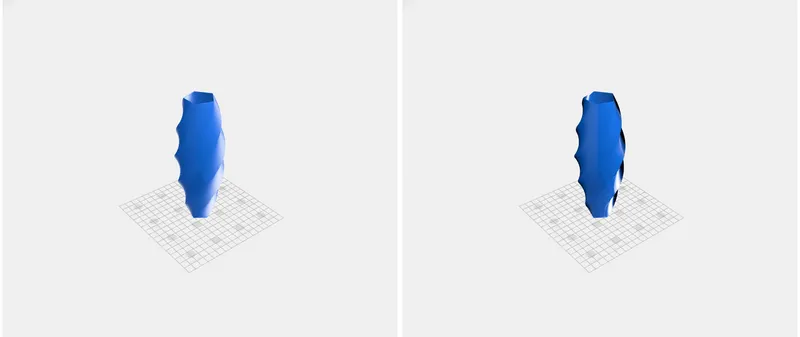
Resin preview is handy before committing a part to a resin print – you see how highlights travel across the surface and where fine detail will pop.
Ground Shadow
A floating model is hard to read. Turn on Ground shadow and the part gets a soft contact shadow beneath it, anchoring it to the build plate and adding depth. A Softness slider takes it from a crisp, hard-edged shadow to a wide, diffuse one.
Background
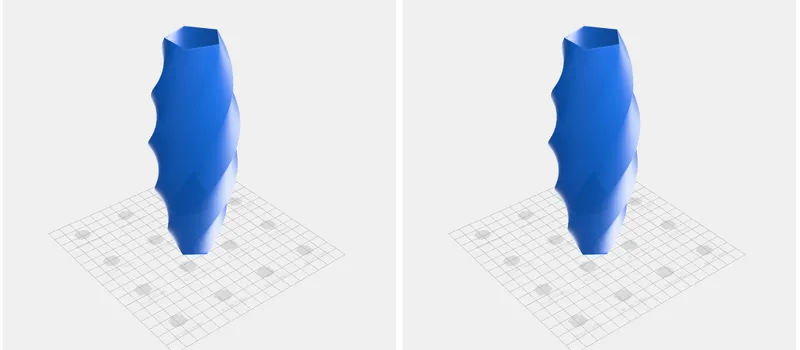
Set the scene behind the model: follow the app Theme, force Light or Dark, or pick Custom and choose any color. A warm or neutral backdrop makes a part read like a product photo; a dark background makes a glossy resin look dramatic. (The cover shot above uses a warm custom background.)
Real-World Use Cases
Showing a client what they’ll get
Set a lighting preset, drop in a ground shadow, choose a clean background, and you have a presentation-quality view of the model – no screenshot editing, no exporting to another tool. Share the link and the recipient sees the same thing.
Previewing a resin print
Before sending a detailed figurine or jewelry piece to the SLA printer, switch to the Resin material to see how light will catch the surface and whether fine detail reads the way you expect.
Color and material QA
Because the default is true-to-life color, you can trust what you see when matching a filament color or checking a part against a reference – instead of second-guessing a viewer that over-saturates everything.
Share-ready shots
Studio lighting + shadow + a chosen background turns the viewport into a quick product shot for a quote, a catalog, or a message to a customer.
How It Compares
| Typical web viewers | 3D Lab Viewer | |
|---|---|---|
| Default color | Often ACES – oversaturated, shifted | PBR Neutral – true to life |
| Lighting | Fixed | Studio / Soft / Hard / Outdoor presets |
| Material preview | One look | Lit + Resin |
| Shadows | None or baked-in | Toggleable soft ground shadow |
| Background | Fixed | Theme / Light / Dark / Custom color |
| Install | – | None – runs in the browser |
| Cost | – | Free |
Everything Runs in Your Browser
Rendering, lighting, materials and shadows are all computed locally, on your device. Nothing is uploaded to a server to be rendered. For proprietary parts and client work, that’s a real advantage over online tools that need you to hand over the file – and it means the viewer stays fast and responsive even while you’re tuning the look.
Supported Formats
Rendering works with every format the viewer reads:
- STL (the 3D printing standard)
- OBJ
- 3MF
- STEP / STP
- GLB / GLTF
Tips for Best Results
- Trust the default color. Neutral tone mapping is on for a reason – only reach for AgX or Filmic if you want a deliberately filmic look, not for accuracy.
- Match the preset to the part. Soft flatters organic and curved shapes; Hard shows off crisp mechanical detail and edges.
- Use Env rotation to place a highlight exactly where it best reveals the surface, rather than moving the camera.
- Turn on the ground shadow for presentation, off for a clean, floating studio look.
- Set a custom background that contrasts the part – a warm backdrop behind a cool model reads like an editorial product shot.
Frequently Asked Questions
Q: My model used to look more saturated – did something change? A: Yes, for the better. The viewer’s default tone mapping is now PBR Neutral instead of ACES, so colors render true to life rather than over-saturated. Your file didn’t change – only how faithfully it’s displayed.
Q: What’s the difference between the Lit and Resin materials? A: Lit is a clean matte, physically-based surface – the honest look for judging shape and color. Resin is a glossy, slightly translucent look that previews how a part reads when printed on an SLA / resin printer.
Q: What do the lighting presets actually change? A: Each preset sets the key light’s direction and intensity plus the surrounding environment-light intensity. Studio is balanced, Soft is diffuse, Hard is high-contrast, Outdoor is bright daylight.
Q: Does rendering change my model or my export? A: No. Everything in the Render panel is display only. Exported STL/OBJ/3MF/GLB files are unaffected.
Q: Are my render settings saved? A: Yes – the viewer remembers your material, lighting, shadow and background choices between sessions. Reset returns everything to defaults.
Q: Does this work on mobile? A: Yes – the viewer runs in any modern browser, including on phones, and there’s also a desktop app.
Try It Now
Head to viewer.3dlab.id, open a model (or click Try a sample), and hit Render in the toolbar. Switch to the Hard preset, turn on the ground shadow, and pick a background – your model goes from “loaded in a viewer” to “ready to show a client” in a few clicks.
More to explore once your model looks right:
- Check the part’s real envelope with the bounding box tool
- Verify critical dimensions with the measurement tools
- Make sure the mesh is printable with online mesh repair
- Share the finished view with a link
Feedback & Feature Requests
Rendering is an area we’ll keep expanding. Tell us what would help your workflow via GitHub Issues or the feedback form on the site.
Built for makers, engineers, and print shops who need to see – and show – a model in its true colors, without leaving the browser.